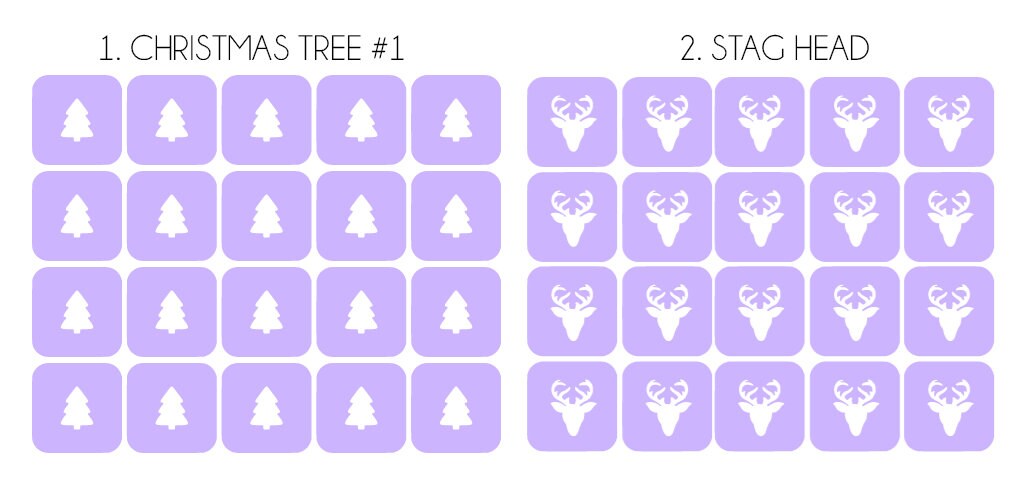
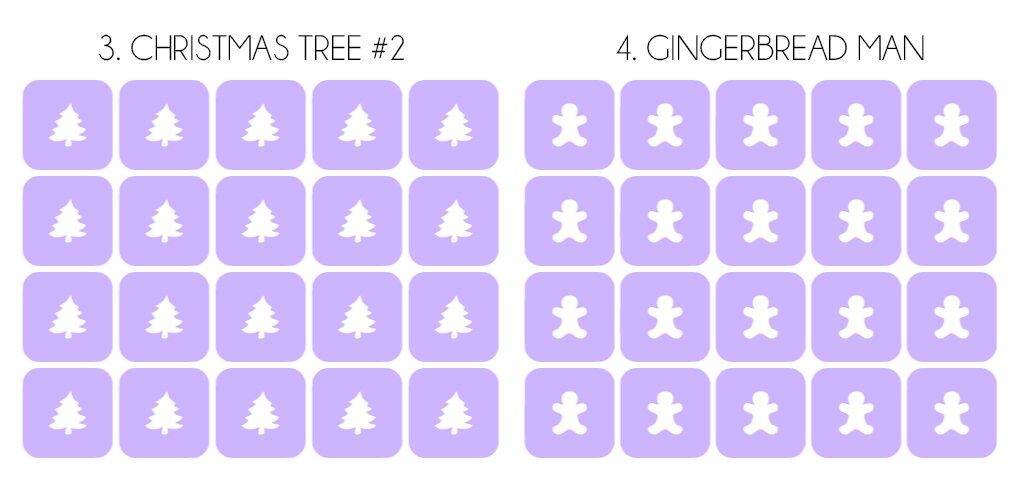
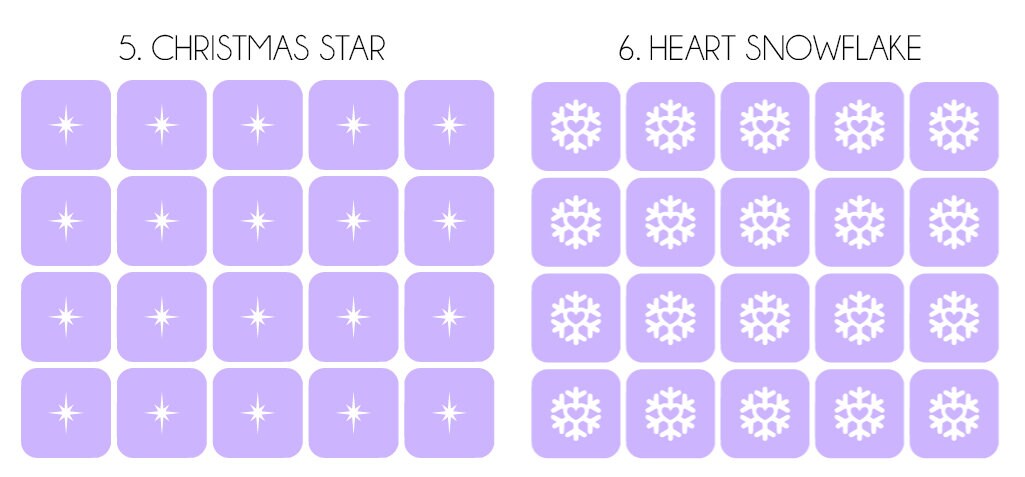
Christmas Nail Stencils Various Designs x20 Nail Stencils - Vinyl Nail Stencils for Nail Art
Christmas Nail Stencils Various Designs x20 Nail Stencils - Vinyl Nail Stencils for Nail Art
Couldn't load pickup availability
Share
Get festive and celebrate the holiday season with our Christmas nail art vinyl stencils. These specially designed stencils feature whimsical and iconic Christmas motifs, making it easy to create stunning holiday-themed nail designs. From snowflakes to reindeer, Christmas trees to candy canes, let your nails shine with the spirit of Christmas. Simply apply the stencil, paint, peel, and reveal beautiful and festive nail art. Spread holiday cheer with your fingertips!
Please choose your nail stencil design from the drop down menu
Each sheet ordered contains x20 Nail stencils
-- Size -- (Approx.) 7mm
Please Note: Your sheet does not come weeded*
because some people like to use the inner part of the vinyl.
* Weeding is the process of removing the excess vinyl from around the stencil
** Colour of stencil will be black however if you require the stencil to be a specific colour please let me know :)
💅🏼 @enchantedcraftcave on Instagram with your nail creations 💅🏼
Can't find a design you like? let me know and we can come up with a design of your own! :D
Applying vinyl nail stencils at home is a simple and enjoyable process. Follow these step-by-step instructions for flawless results:
Prepare Your Nails: Start by ensuring your nails are clean and dry. Remove any old nail polish and gently shape your nails to your desired length and style. Push back your cuticles for a neat appearance.
Select Your Stencil: Choose the vinyl nail stencil design that appeals to you the most. Carefully peel it off the backing paper, making sure not to bend or fold the stencil.
Apply the Stencil: Position the stencil on your nail, aligning it with the desired area. Press down firmly to ensure it adheres well to the nail's surface. Make sure there are no air bubbles trapped under the stencil.
Paint Your Nails: Now it's time to paint! Select your preferred nail polish color and apply it evenly over the stencil. Be gentle to avoid smudging or bleeding. Allow the polish to dry partially but not completely.
Remove the Stencil: Once the polish has dried partially, carefully peel off the vinyl nail stencil. Start from one edge and slowly lift it away from the nail, ensuring not to touch the painted area. This will reveal the crisp design underneath.
Clean Up: If there is any excess polish around the stencil or on the skin, use a small brush or cotton swab dipped in nail polish remover to clean up the edges and achieve a clean finish. Be precise and patient.
Seal and Protect: To enhance the longevity of your nail art, apply a clear top coat over the entire nail. This will seal the design, add shine, and protect it from chipping or peeling.
Repeat for Each Nail: Repeat the above steps for each nail, one at a time, until all your desired nails are beautifully adorned with the vinyl nail stencil designs.
Final Touches: Once your nails are fully dry, take a moment to admire your stunning nail art. If desired, you can further personalize your design with additional details, glitter, or rhinestones. Get creative!
With these simple steps, you can achieve professional-looking nail art using vinyl nail stencils right at home. Embrace your creativity, experiment with different designs, and enjoy the satisfaction of flaunting your unique and stylish nails.
Product features
Product features
Materials and care
Materials and care
Merchandising tips
Merchandising tips


